Title:
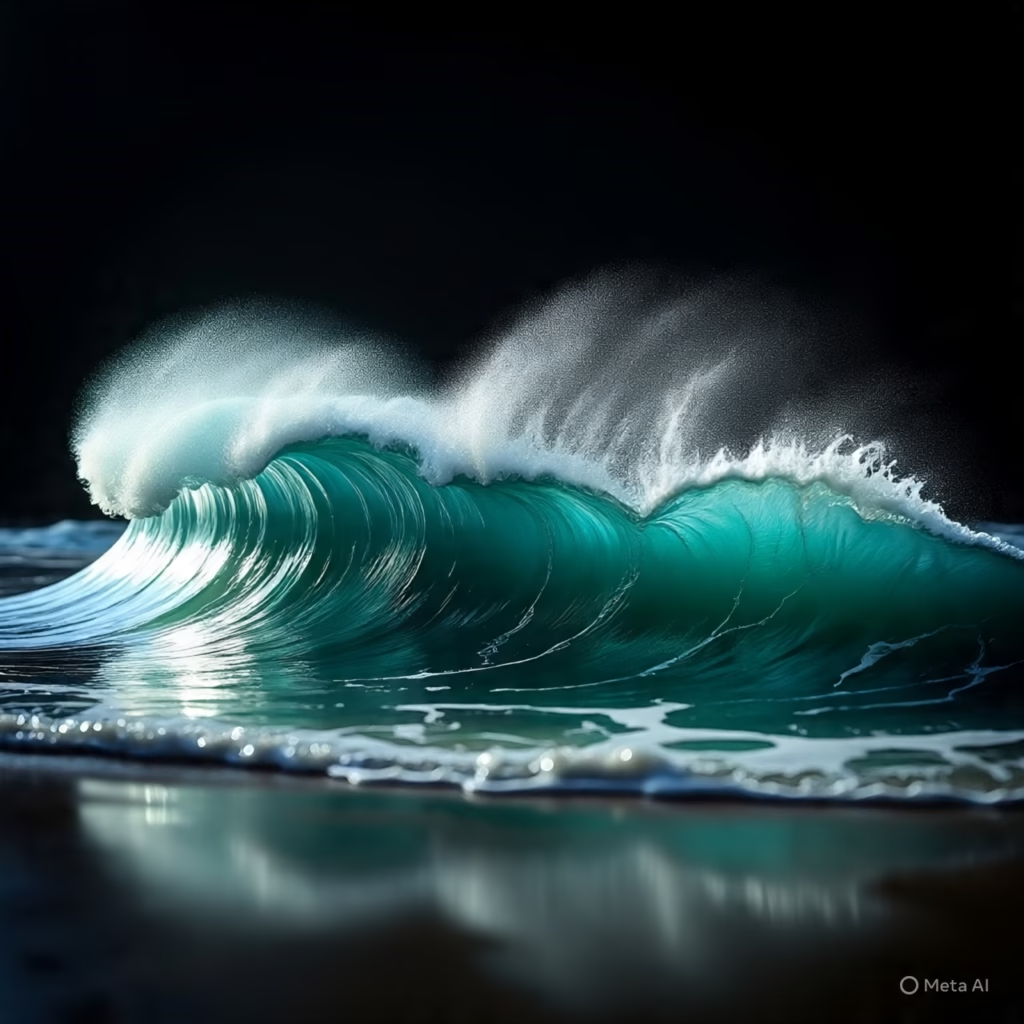
Ocean Wave Effect with Resin Made Simple for Stunning Beach Art
Ocean Wave Effect with Resin
Made Simple for Stunning Beach Art
If you have ever dreamed of capturing the relaxing beauty of the ocean in your art then learning how to create an ocean wave effect with is a must. This coastal inspired style is loved by beginners and experienced artists alike. Whether you want to make beach themed coasters trays or wall art this tutorial will guide you through it step by step.
What You Will Need
Clear epoxy
White and ocean blue pigments
Heat gun or torch
Silicone mold or wooden panel
Mixing cups and sticks
Nitrile gloves and a mask
Sand or crushed shells optional for beach texture
Recommended Resin:
Art Epoxy Kit is perfect for this style and safe for indoor use with low fumes.
Step 1 Create Your Beach Base
Start with a clean level surface. If you’re working on a wooden board tape the sides and seal the surface if needed. Mix your according to the instructions and tint small batches with beach inspired colors like sand tan ocean blue and turquoise.
Pour the sand colored resin near the bottom
of your panel to mimic the shore. Then layer the blue tones above it to represent the deeper water.
Want more info on mixing ratios? Visit our Beginner Mixing Guide
Step 2 Add the Ocean Layer
Once your base layer is poured use a clean cup to pour a strip of white where the ocean meets the shore. This will become the foam of your wave.
Be careful not to overdo it with the white. Too much can overwhelm the rest of the colors and cover your beach effect.
Step 3 Use Heat to Create the Wave Effect
Now for the fun part Use your heat gun or torch to gently push the white toward the shore. This will spread it into soft cells and create a foamy wave effect.
Move slowly and evenly for best results
. The white pigment should begin to web out and look like real sea foam.
Tip: Use a heat gun instead of a torch if you want more control over how the waves spread.
Step 4 Add Details and Let It Cure resin
Add a sprinkle of sand or tiny shells near the shore line for extra realism. You can also layer more white and repeat the wave effect for a multi layer look.
Let your piece cure on a level surface undisturbed for 24 to 48 hours depending on your brand.
Step 5 Optional Clear Top Coat resin
If you want your ocean art to have a glass like finish apply a clear top coat once the first layer is fully cured. This gives your work a professional look and adds depth to the ocean colors.
Need help with final finishing? Check out our Finishing and Polishing Guide
Final Thoughts of resin
Ocean wave art is relaxing to create and stunning to display. With a little practice you can make your own beach scenes that capture the movement and calm of the sea. Start small with coasters or trays and work your way up to larger wall art.
Looking for more inspiration? Resin
Check out our Top 10 Resin Beach Art Ideas or browse our Tools and Materials Shop
Let me know if you’d like this turned into
a printable PDF tutorial or a social media carousel format.
You might to like read this blog
https://manyviral.com/can-trumps-big-beautiful-bill-pass-the-senate/
Leave a Reply