Title
How to Make Photo Resin Fridge Magnets That Are Fun and Personal
Blog Post
If you are looking for a DIY project that is fun easy and meaningful try making your own photo fridge magnets These tiny keepsakes are perfect for displaying memories on your refrigerator locker or magnetic board Plus they make amazing handmade gifts for friends and family
Whether you want to preserve a wedding
photo a pet portrait or your child’s artwork this guide will show you how to turn any image into a long lasting magnet
Why Make Resin Photo Magnets
Personalized and meaningful every magnet holds a memory
Great for gifting holidays birthdays or special occasions
Budget friendly only a few materials needed
Beginner friendly no fancy equipment required
What You Will Need
Epoxy and hardener
Small silicone molds circle square or heart shaped
High quality printed photos sized to fit your mold
Scissors or circle cutter
Magnets with adhesive backing or superglue
Mixing cups and stir sticks
Gloves and workspace cover
Want photo paper that holds up well in Try this water resistant photo paper from Koala that’s perfect for small crafts
Step by Step How to Make Photo Resin Fridge Magnets
1 Choose and Print Your Photos
Pick your favorite pictures and print them on high quality matte or glossy paper Cut them to fit inside your silicone molds Make sure the images are dry and sealed if needed
2 Mix the Resin
Combine your epoxy and hardener following the package instructions Stir slowly for about 3 minutes to reduce bubbles
3 Add a Thin Base Layer
Pour a small amount of clear into the bottom of each mold This creates a shiny front surface Let it sit for 10 to 15 minutes
4 Place the Photo
Carefully place your trimmed photo face down into the Make sure it is centered and smooth out any air bubbles using a toothpick or gloved finger
5 Pour to Fill
Add more on top until the mold is full Use a lighter or heat gun briefly to remove surface bubbles
6 Let It Cure
Leave the molds to cure for 24 to 48 hours depending on your brand
7 Attach the Magnet
Once fully cured pop out your pieces and glue a magnet to the back using or a hot glue gun Let it dry completely before using
Creative Ideas for Your Photo Magnets
Baby pictures for grandparents
Wedding photos as thank you favors
Pet portraits for your office or locker
Travel photos as souvenirs
Holiday memories for your seasonal fridge decor
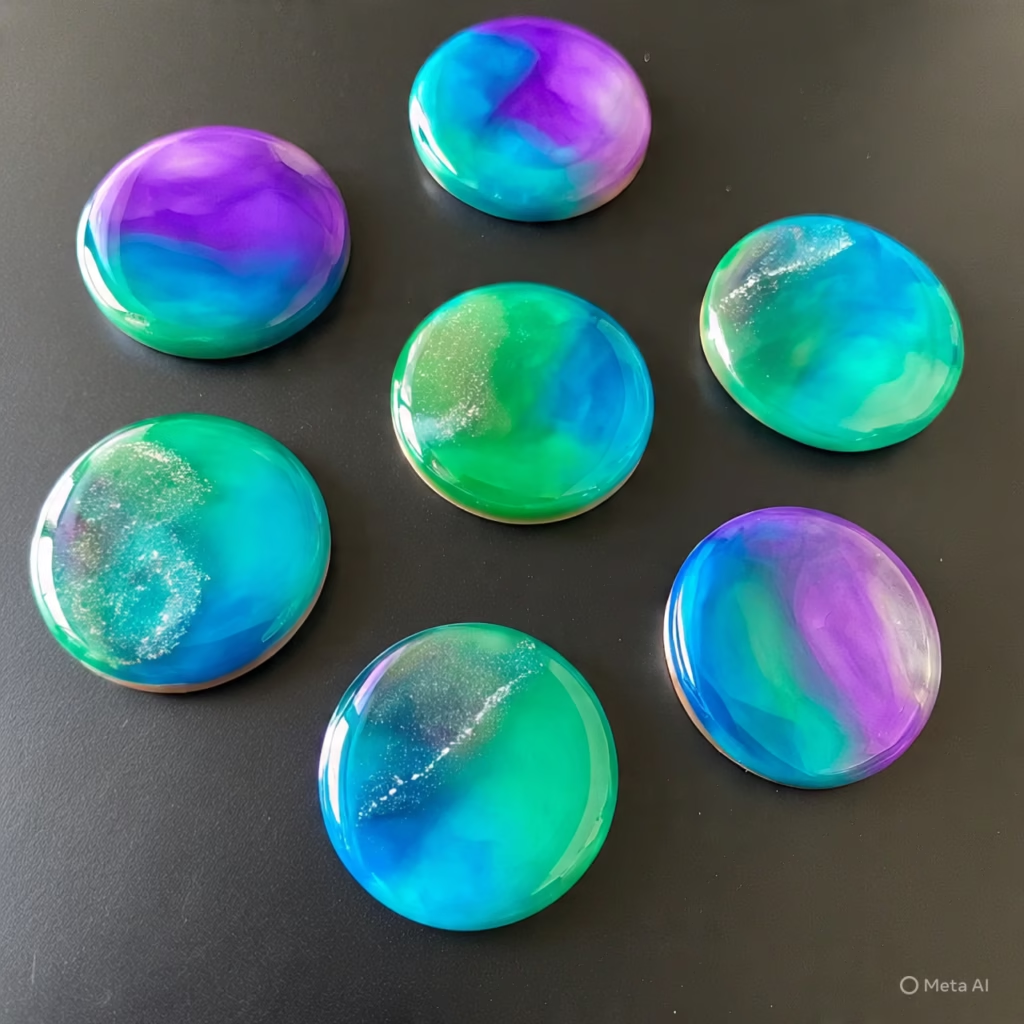
You can even add glitter around the edge or embed tiny decorations like dried flowers to make each piece one of a kind
Tips for Best Results resin
Seal printed images with Mod Podge if you are using inkjet paper to prevent ink from bleeding
Use light pressure when placing the photo to avoid creases
Choose a mold with a flat surface so your magnet lays flush against the fridge
Try colored around the photo for a framed look
Love Photo Crafts resin
Check out our other memory keeping projects like [DIY Photo Keychains] and [How to Make Memory Coasters]
[Insert internal links here]
Final Thoughts resin
Photo fridge magnets are the perfect way to keep your favorite memories close in a beautiful and practical form They are fun to make thoughtful to give and add a personal touch to any space Once you make one set you’ll want to create more for every occasion
Need help sizing your images or
choosing the right mold shape Let me know and I can recommend tools or provide printable templates
You might to like read this blog
https://manyviral.com/can-trumps-big-beautiful-bill-pass-the-senate/
Leave a Reply