Title:
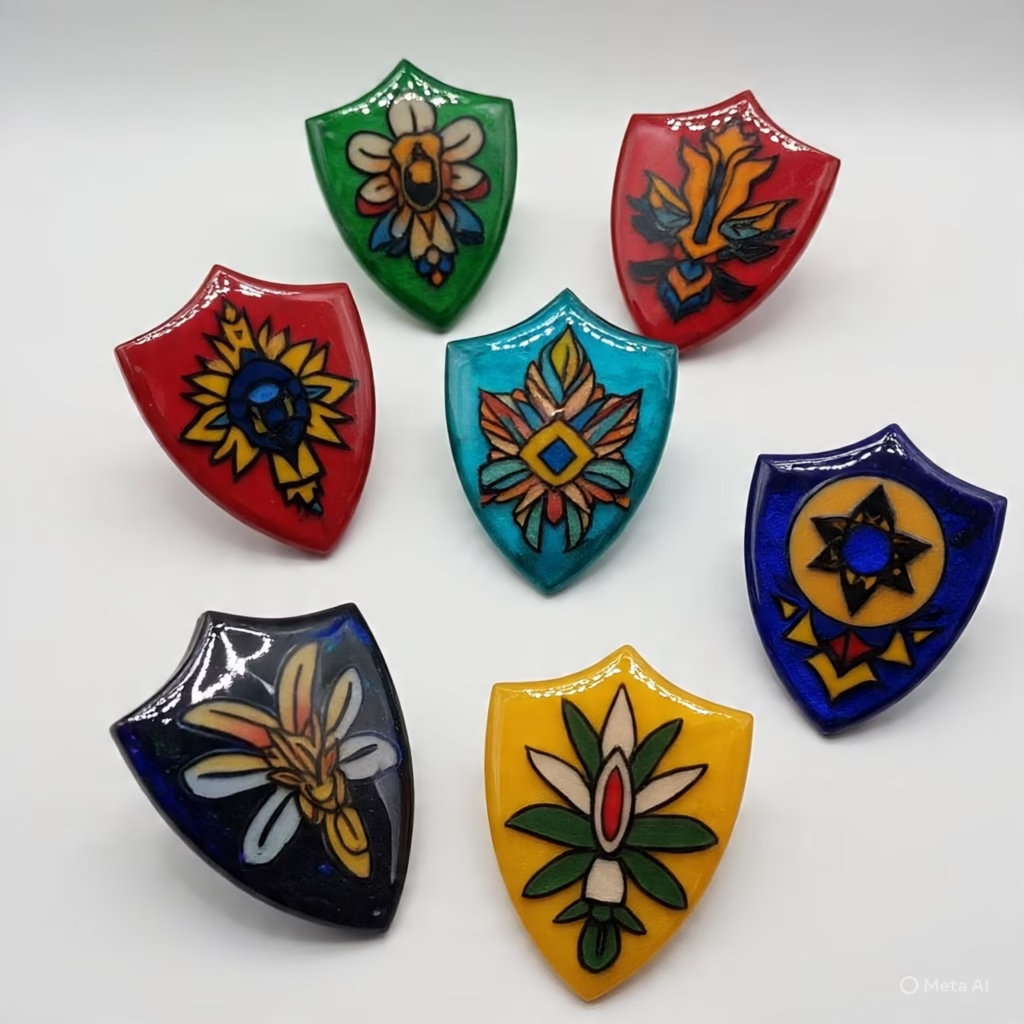
DIY Resin Tattoo Shields
DIY Resin Tatoo Shields
Tattoos are art on skin and protecting them—especially in the early days—is essential. While cling film and fabric wraps are the standard aftercare tools some
people are turning to shields
Custom DIY resin tattoo shields for an added layer of physical protection and personalization.
But before jumping into resin crafting for body use it’s important to understand the materials safety and best practices involved.
What Is a Tatoo Shield
A tattoo shield is a protective barrier placed over a new tattoo to prevent clothing friction accidental scratches or sun exposure. Typically these are made from breathable dressings or adhesive bandages. Resin shields however are non-adhesive rigid protectors meant to hover slightly above the skin—like a wearable dome or patch.
This is not a medical replacement shields
for proper healing wraps but rather a lightweight outer shield you might wear over clothing or when at home for extra protection.
Why Use Resin shields
Resin is clear durable and moldable into custom shapes. It allows for:
- A smooth domed surface that prevents rubbing
- Creative designs that match the tattoo theme
- Easy cleaning and reuse
- A solid lightweight structure for temporary coverage
When made correctly a resin shield
shield can look like jewelry while serving a functional purpose—especially for tattoos in high contact areas like wrists ankles or shoulders.
Want more about tattoo aftercare essentials? Visit the American Academy of Dermatology for trusted advice.
DIY Shield Materials
Before starting make sure your tattoo is fully clean and you’ve consulted your tattoo artist about additional coverings.
For your resin shield you’ll need:
- Skin safe epoxy resin (BPA free and body friendly)
- Silicone molds in the desired shape or size
- Pigments or glitter for personalization
- Flexible straps or fabric loops (optional for attachment)
- Sandpaper or resin file for smoothing edges
Note: These shields are not to be placed directly on fresh tattoos. Always allow space between the resin and skin using straps or shirt fabric as a buffer.
How to Make a DIY Resin Shield
-
Choose Your Mold
Use a small curved silicone mold or make your own mold shaped like a dome or disc. Match it to the general size and shape of your tattoo. -
Mix and Pour Resin
Use a safe brand of resin and mix according to instructions. Add color or glitter for flair but avoid anything sharp or textured that could cause scratching. -
Cure Completely
Let the piece cure fully—typically 24 to 72 hours depending on brand and humidity. A half-cured piece should never be used on the body. -
Smooth the Edges
-
Sand any rough areas so nothing irritates the skin or snags fabric.
-
Add Strap or Attachment Option
Depending on your needs you can attach a soft strap or simply place the piece under loose clothing. Never tape resin directly to the skin. -
Use with Caution
Place the shield over clothing or a bandage—not on bare healing skin. Remove immediately if you feel discomfort or irritation.
Explore More
- Best resin types for skin contact
- Creative ideas for tattoo protection gear
- Beginner safety guide to working with resin
Final Thoughts
DIY resin tattoo shields are a stylish and creative way to add extra protection to your ink—when used safely and correctly. They’re especially useful during healing when accidental bumps or friction could damage a new tattoo.
Always consult your tatoo shields
artist before experimenting and remember resin is not a medical product. It’s a creative add-on not a replacement for standard aftercare. With the right materials and caution you can design a one of a kind tattoo shield that protects and expresses your style at the same time.
Would you like a printable step
by step guide or a shopping list of skin safe resin brands to go with this blog?
Leave a Reply