Title
How to Make Your Own DIY Resin Lava Lamp Art That Actually Looks Awesome
Blog Post
If you love retro vibes and modern art you’re going to be obsessed with this project Resin lamp art is exactly what it sounds like—psychedelic swirling colors captured forever in glossy resin
It’s fun weirdly satisfying and surprisingly
easy to make with the right tools Whether you’re a seasoned resin artist or a total beginner this DIY will add some serious style to your space
What Is Resin Lava Lamp Art
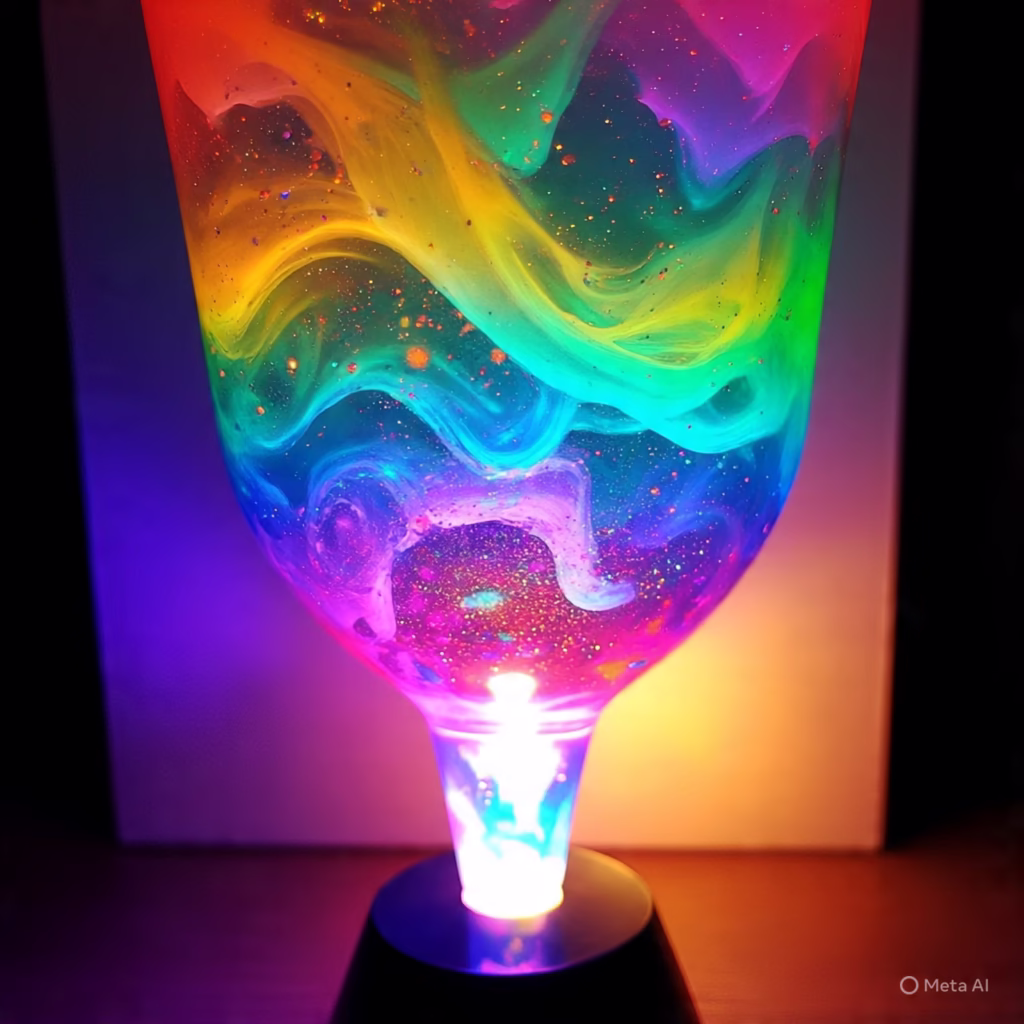
Imagine the dreamy motion of a lamp but instead of bubbling wax you’re working with colorful pigments suspended in epoxy resin You’re not making an actual functioning lamp here Instead you’re recreating the look of one in a wall art piece or tabletop decor
People have started using silicone
molds and layered pigments to create faux lamp effects that resemble glowing blobs and flowy waves The final result looks like a piece of 70s nostalgia frozen in time
What lava You’ll Need
Before diving in here’s a list of what you’ll need
- Clear epoxy resi
- Silicone mold (circle or teardrop works best)
- Heat gun or torch
- Mixing cups and sticks
- Nitrile gloves
- Safety mask and goggles
We got most of our supplies from Art Resin and they have some great beginner resources too
Step by Step Guide for lava
Step 1 Prepare Your Workspace
Cover your surface with a silicone mat or parchment paper Resin is sticky and permanent so take precautions Always work in a well ventilated area
Step 2 Mix Your Resin
Follow the instructions on your resin kit Mix the resin and hardener thoroughly but slowly to avoid bubbles
Step 3 Add Your Pigments
Pour the clear resin into separate cups and add different colors to each One should be your base color then others can be accent swirls Use alcohol ink for that cloudy lava flow effect or mica powder for more shimmer
Step 4 Pour in Layers
Pour your base layer into the mold Then drip in your colored resins at random Use a stick to gently swirl the colors without over mixing This is where the magic starts
Step 5 Use Heat to Create Flow
Use a heat gun or torch to pop bubbles and guide the resin movement The heat helps mimic that lamp motion and adds depth to the art
Step 6 Let It Cure
Let your resin cure for at least 24 to 48 hours Check the label on your brand for exact timing Once it’s hard and glassy you’re done
Design lava Ideas
- Try neon pigments with a black base for a glow effect
- Use glow in the dark powder for nighttime vibes
- Add glitter or holographic flakes for a cosmic look
- Create a multi panel wall piece by making several and hanging them together
Safety Notes for lava
Always wear a respirator mask when working with resin and make sure your space is well ventilated Never pour resin down the drain and dispose of leftovers properly
Check out our post on lava
[resin safety tips every beginner should know] and our guide to [the best molds for epoxy art projects]
Final Thoughts lava
Resin lava lamp art is one of those projects that looks complex but is actually super doable with the right tools It’s perfect for gifts funky home decor or just a relaxing creative weekend If you’ve ever loved the glow of a lamp this is your chance to freeze that moment in time with style
Let me know if you want an lava
HTML version or if you’d like image ideas for the post.
You might to like read this blog
https://manyviral.com/can-trumps-big-beautiful-bill-pass-the-senate/
Leave a Reply