Title:
How to Create Beautiful Resin Pet Portraits for Lasting Memories
Introduction
Pet portraits have been a beloved way to honor our furry friends for years. But with resin art, you can take your pet portrait to the next level by adding a glossy finish that preserves their likeness forever. If you love crafting and want to create a one-of-a-kind tribute to your pet, making a resin pet portrait is an enjoyable and rewarding project. Let’s dive into how you can create stunning resin pet portraits from start to finish.
What You Need to Get Started
Before you start making your resin pet portrait, it’s essential to gather all the necessary materials and tools. Here’s a list of the basics you’ll need:
- Resin: Clear casting resin is the best option for pet portraits. Look for resin that’s durable and UV resistant.
- Pigment or Dye: Use pigments, alcohol inks, or dyes to add color to the resin for your pet’s fur, eyes, and background.
- Pet Photo: A high-quality image of your pet will help you recreate their likeness.
- Mold: Depending on the style, you might need a flat mold or a frame mold.
- Gloves & Mask: Resin fumes can be harmful, so it’s essential to wear gloves and a mask for protection.
- Mixing Cups & Stir Sticks: For mixing the resin and pigments.
- Heat Gun or Torch: To remove any bubbles that form in the resin.
You can find resin supplies at your local craft store or online suppliers.
Step-by-Step Guide to Creating Your Resin Pet Portrait
Step 1: Prepare Your Pet Photo
The first step in the process is selecting a photo of your pet that you want to immortalize in resin. Make sure the image is high quality and clearly shows your pet’s face and features. You may want to edit the photo to adjust brightness or contrast to make the details more prominent.
Step 2: Set Up Your Workspace
Creating resin art can be messy, so it’s important to work in a clean, well-ventilated area. Lay down some protective covering, such as a drop cloth or plastic sheeting, to avoid getting resin on your surfaces.
Step 3: Mix the Resin
Follow the instructions on the resin packaging to mix the resin and hardener together. Use a measuring cup to ensure accuracy and stir slowly to avoid air bubbles. If you want to add color, now’s the time to incorporate your pigments or dyes.
Step 4: Pour Resin into the Mold
Pour a thin layer of resin into your mold, just enough to cover the bottom. You can either pour a flat layer or create layers that correspond to different elements of your pet’s portrait. For instance, start with the background and then pour a thin layer over the pet’s fur or face.
Step 5: Add Your Pet’s Features
Use your mixed resin to carefully recreate your pet’s details. You can layer the resin to capture the fur texture, eyes, and any unique markings. If you need guidance, there are many online tutorials to help with realistic resin pet art techniques.
Step 6: Remove Bubbles and Let it Cure portraits
After pouring the resin, use a heat gun or torch to gently pop any air bubbles that may have formed. Allow the resin to cure for the recommended amount of time (usually 24 to 48 hours). Make sure it’s in a dust-free area while curing.
Step 7: Finishing Touches portraits
Once the resin has fully cured, remove the pet portrait from the mold. You can add additional layers or touch up details if necessary. Sand the edges if needed for a smoother finish.
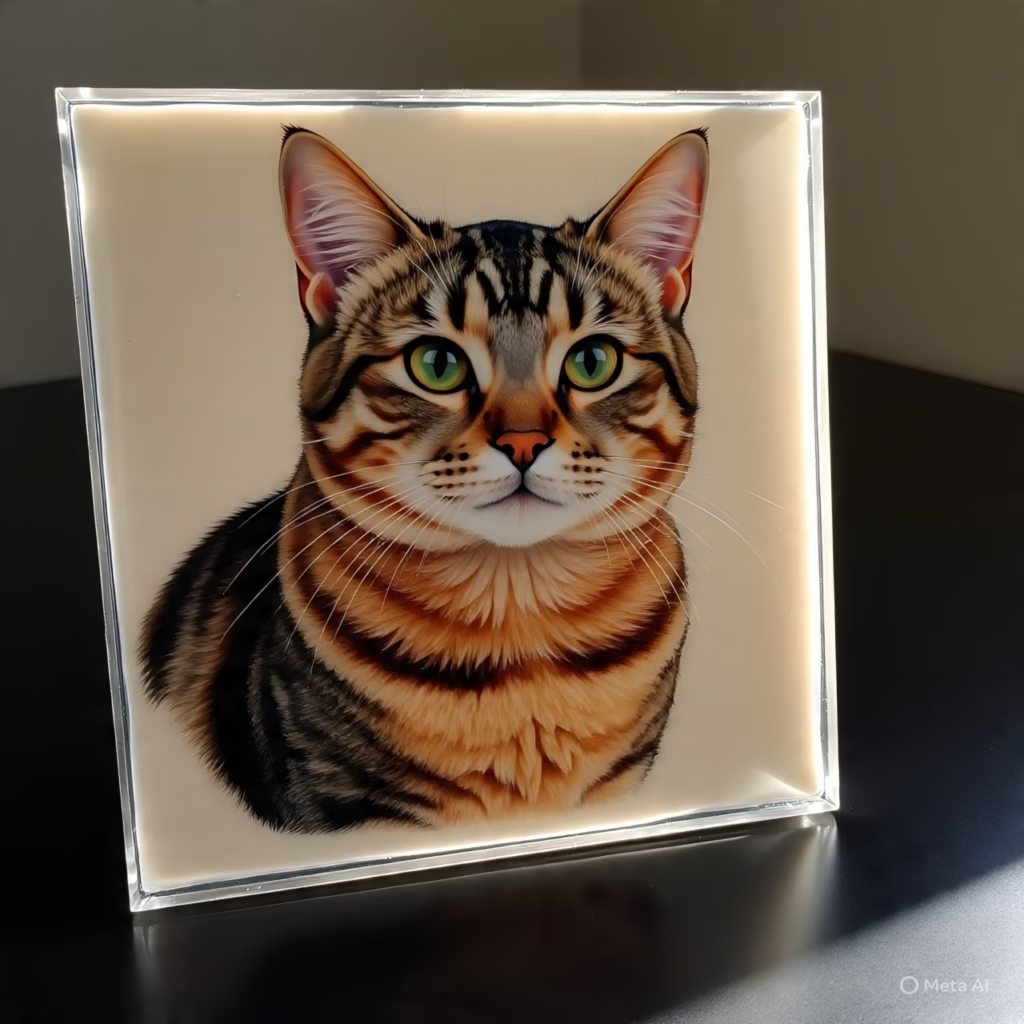
Displaying and Caring for Your Resin Pet Portrait
After you’ve finished your resin pet portrait, it’s time to display it! Whether you choose to frame it or mount it on a stand, this unique piece of art is sure to be a conversation starter. To care for your resin portrait, avoid direct sunlight for long periods to prevent fading. Clean it with a soft cloth to keep it looking pristine.
Why Resin Pet Portraits Are a Great Choice
Resin pet portraits offer a unique and lasting way to celebrate your furry friends. Unlike traditional framed prints or paintings, resin portraits have a glossy finish that makes them stand out and adds depth to your artwork. Plus, they’re highly durable and can withstand wear and tear, making them perfect keepsakes.
If you’re looking for more inspiration for other resin art projects, check out some creative ideas.
Conclusion portraits
Resin pet portraits are a beautiful and meaningful way to celebrate the bond you share with your pet. With the right materials and a little patience, you can create a stunning piece of art that will last for years. Whether you’re crafting this portrait for yourself or as a gift, it’s sure to be a cherished keepsake.
If you’re interested in learning more about resin art or want to explore different techniques, check out our Resin Art Guide for detailed instructions on other projects you can try.
Internal Links
http://Learn More About Resin Art: [Link to your resin art tutorial]
External Links
http://Resin Supplies Store: [External link to trusted resin suppliers]
This structure keeps the blog post portraits
informative, easy to follow, and helpful for readers. It provides a step-by-step process, integrates internal and external links for further reading, and offers a natural, human tone throughout.
you might to like read this blog
https://manyviral.com/can-trumps-big-beautiful-bill-pass-the-senate/
Leave a Reply