Title:
How to Create Stunning Wildlife Inspired Resin Pours
Resin art is a fantastic
medium for capturing the beauty of nature, and one of the most exciting ways to use resin is by creating wildlife-inspired pours. Whether you’re drawn to majestic animals, vibrant landscapes, or intricate patterns found in the natural world, resin allows you to replicate and immortalize these stunning elements in a vibrant, lasting way.
In this blog post, we’ll explore how to create wildlife-inspired resin pours and how to bring your artistic visions to life using the beauty of the animal kingdom.
What You’ll Need:
- Resin (epoxy or acrylic resin works best)
- Pigments (liquid or powder) for color effects
- Wildlife references (photos or drawings) for inspiration
- Mixing cups and stir sticks
- Canvas or wooden panel (as your base)
- Heat gun or torch (to pop bubbles and add effects)
- Protective gloves and mask
- Wildlife images or stencils (optional for more detailed designs)
Step-by-Step Guide to Creating Wildlife-Inspired Resin Pours
-
Select Your Wildlife Theme
Before you begin, take some time to choose the wildlife theme you’d like to incorporate into your artwork. Do you want to create an image of a majestic lion? A vibrant underwater scene with tropical fish? Or perhaps a serene forest with birds soaring through the sky? Gather references or sketches that will guide your design. -
Prepare Your Workspace
Resin can be a messy medium, so ensure you’re working in a clean, well-ventilated area. Lay down protective covers and have all your supplies organized and within reach. You’ll also want to wear gloves and a mask to protect yourself from fumes and skin contact. -
Mix the Resin
Follow the instructions for your resin and mix it thoroughly. It’s crucial to ensure the resin and hardener are blended properly to avoid any sticky or incomplete curing. If you’re adding colors or pigments, now is the time to mix those in. For wildlife-themed art, you can use earthy tones, vibrant shades, or even metallic effects to mimic the colors of the animals or environment you’re portraying. -
Create the Base Layer
Pour a thin layer of resin onto your canvas or wooden panel. This layer will act as the foundation for your wildlife scene. If you’re creating an abstract wildlife pour, you may want to let this layer flow freely. If you’re aiming for a more detailed design, carefully use a brush to guide the resin into the desired areas. -
Pour the Resin for Your Design
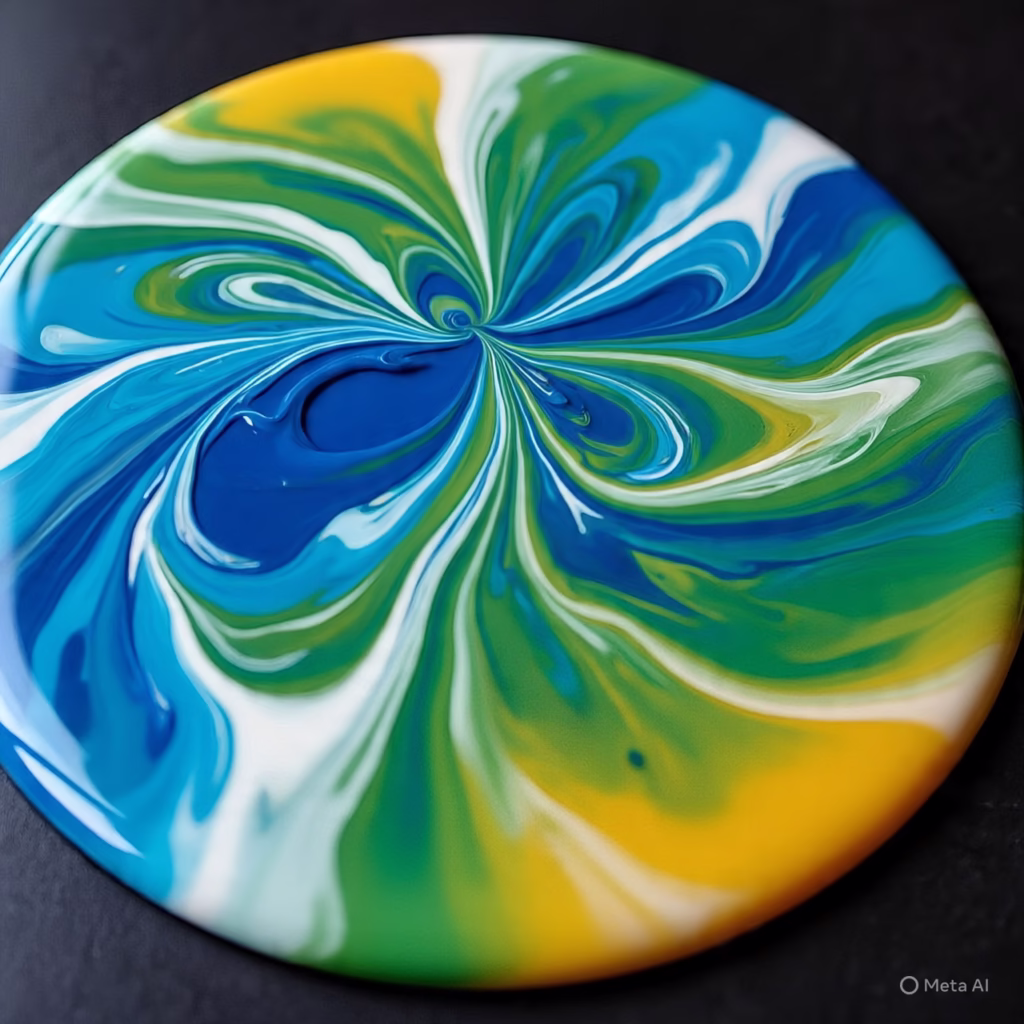
Once your base layer has cured slightly (just enough to stay in place), begin adding more resin in layers to form the wildlife shapes. You can pour different colors of resin, layering them to create the fur of an animal, the feathers of a bird, or the waves of an ocean. If you’re feeling adventurous, you can also mix several colors directly on the canvas to create abstract patterns that represent the wildlife you’re inspired by. -
Use Heat to Add Movement
After pouring the resin, you can use a heat gun or torch to manipulate the colors and textures. This is especially effective if you want to create a flowing effect, like water or the movement of an animal’s fur. Be careful not to overheat the resin, as this can cause it to harden too quickly. -
Add Finishing Touches
Once the resin has cured fully (24–48 hours), you can add finer details such as wildlife silhouettes or stenciled images of animals. If you prefer, you can also embellish the artwork with additional resin layers or even real elements, such as pressed flowers or leaves, for a more textured effect.
Why Choose Wildlife-Inspired Resin Pours? Inspired
Wildlife-inspired resin pours capture the beauty and diversity of nature, turning it into art you can display proudly. Creating these pieces allows you to connect deeply with nature, either by replicating your favorite animals or creating a fantastical environment that blends the rawness of the wild with the smooth, fluid aesthetics of resin. Whether you’re an animal lover, an environmentalist, or simply someone who admires the beauty of the natural world, wildlife resin pours are a perfect way to bring that beauty into your home.
Resin also allows for flexibility in design, meaning you can create abstract wildlife art or hyper-realistic renditions of animals, plants, and landscapes—whichever suits your artistic vision.
Tips for Perfecting Your Wildlife Resin Art inspired
- Use a Slow-Curing Resin: A slow-curing resin allows for more control over the pour and gives you more time to manipulate the design before it sets.
- Work in Layers: For depth and detail, work in layers. Start with background elements and then layer on your animal designs.
- Use Realistic Colors: Look at nature for color inspiration. Earth tones, bright greens, and ocean blues work well for many wildlife scenes.
- Get Creative with Texture: You can add texture to your artwork by playing with different pouring techniques like the “dirty pour” method or incorporating additives like glitter or sand for a more dimensional look.
Where to Buy Resin Supplies for Wildlife Art inspired
If you’re ready to start creating your own wildlife-inspired resin pours, here are some places to check out for the supplies:
- Etsy – Find resin kits, pigments, and tools that are perfect for wildlife-themed pours.
- Amazon – A great place to purchase resin, molds, and other art supplies.
- Michaels – A craft store with a variety of resin and art supplies for beginners and experienced artists alike.
By using resin as your medium, you can bring nature’s beauty to life in your home. Whether it’s a bold statement piece or a subtle wildlife-inspired accent, resin pours allow you to create art that reflects the majesty of the animal kingdom.
Internal Links:
External Links:
I hope this blog sparks some creative ideas for your wildlife-inspired resin pours! Let me know if you’d like further details or help with any part of the process.
you might to like read this blog
https://manyviral.com/can-trumps-big-beautiful-bill-pass-the-senate/
Leave a Reply